Main Title: DHT11 Temperature and Humidity Sensor Arduino Code with LCD
Summary:
Welcome to this comprehensive article on using the DHT11 temperature and humidity sensor with Arduino, along with an LCD display. This tutorial will guide you step by step on how to connect and program the sensor to display real-time temperature and humidity readings on an LCD screen. Whether you are a hobbyist or a beginner in the world of Arduino, this guide will provide you with all the necessary code and explanations to successfully complete your project.
Table of Contents
- Introduction to DHT11 Sensor
- Connecting the DHT11 Sensor
- Arduino Code for Temperature and Humidity Readings
- Displaying Data on an LCD Screen
Introduction to DHT11 Sensor
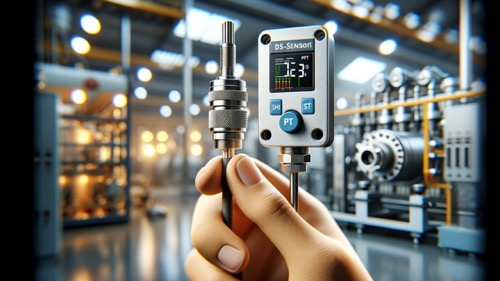
The DHT11 is a popular temperature and humidity sensor that can be easily used with Arduino boards. It provides high accuracy and reliability at a low cost, making it suitable for a wide range of projects such as weather stations, greenhouse monitoring, and home automation.
When using the DHT11 sensor, it is important to note that it can only measure temperature and humidity with a resolution of 1 degree Celsius and 1% relative humidity respectively. However, for most applications, this level of accuracy is sufficient.
Connecting the DHT11 Sensor
To connect the DHT11 sensor to an Arduino board, you will need a breadboard, jumper wires, the DHT11 sensor itself, and the Arduino board. The sensor has three pins: VCC, data, and GND. The VCC pin should be connected to the 5V pin on the Arduino, the data pin to any digital input pin, and the GND pin to the GND pin on the Arduino.
Make sure to double-check your connections and use appropriate pull-up resistors if necessary. Once connected, you are ready to move on to the next section where we will write the Arduino code.
Arduino Code for Temperature and Humidity Readings
In order to read temperature and humidity data from the DHT11 sensor, we need to install the DHT library in the Arduino IDE. This library provides functions to interact with the sensor and retrieve the necessary readings. Once the library is installed, we can proceed with writing the code.
Here is a sample code snippet to get you started:
#include <DHT.h>
#define DHTPIN 2
#define DHTTYPE DHT11
DHT dht(DHTPIN, DHTTYPE);
void setup() {
  Serial.begin(9600);
  dht.begin();
}
void loop() {
  float temperature = dht.readTemperature();
  float humidity = dht.readHumidity();
  Serial.print("Temperature: ");
  Serial.print(temperature);
  Serial.print("°Ct");
  Serial.print("Humidity: ");
  Serial.print(humidity);
  Serial.println("%");
  delay(2000);
}
By uploading this code to your Arduino board, you can start receiving temperature and humidity readings in the serial monitor of the Arduino IDE.
Displaying Data on an LCD Screen
If you want to visualize the temperature and humidity readings on an LCD screen, you will need to connect an LCD module to your Arduino. The most common type of LCD module used with Arduino is the 16×2 character LCD.
Here is a basic circuit diagram to connect the LCD module to an Arduino:
GND -> GND
VCC -> 5V
SDA -> Analog Pin 4
SCL -> Analog Pin 5
After making the connections, you can use a library like the LiquidCrystal library to display the temperature and humidity readings on the LCD screen. This library simplifies the process of controlling the LCD module.
With the combination of the DHT11 sensor, Arduino, and an LCD display, you can create a compact and user-friendly device that shows real-time temperature and humidity information. This opens up possibilities for various applications including environmental monitoring systems, smart home projects, and more.
In conclusion, this article has provided an in-depth exploration of using the DHT11 temperature and humidity sensor with Arduino, along with an LCD display. You should now have a good understanding of how to connect the sensor, program it to read data, and display the results on an LCD screen. Have fun experimenting with this versatile sensor and incorporating it into your own projects!


