Arduino Temperature: How to Monitor and Control Temperature with Arduino
Article Summary:
In this article, we will explore how to use Arduino to monitor and control temperature. We will cover the basics of temperature sensors and how to connect them to your Arduino board. We will also discuss how to program your Arduino to read and display temperature data, as well as how to use that data to control a connected device such as a heater or fan. By the end of this article, you will have the knowledge and tools to create your own temperature monitoring and control system using Arduino.
Introduction:
Controlling temperature is important in a variety of applications, from home automation to industrial processes. With the help of Arduino, it is easy to build a cost-effective, customizable temperature control system. Arduino is an open-source platform that can be used to develop interactive electronic projects. One of the many things that you can do with Arduino is to monitor and control temperature.
1. Understanding Temperature Sensors:
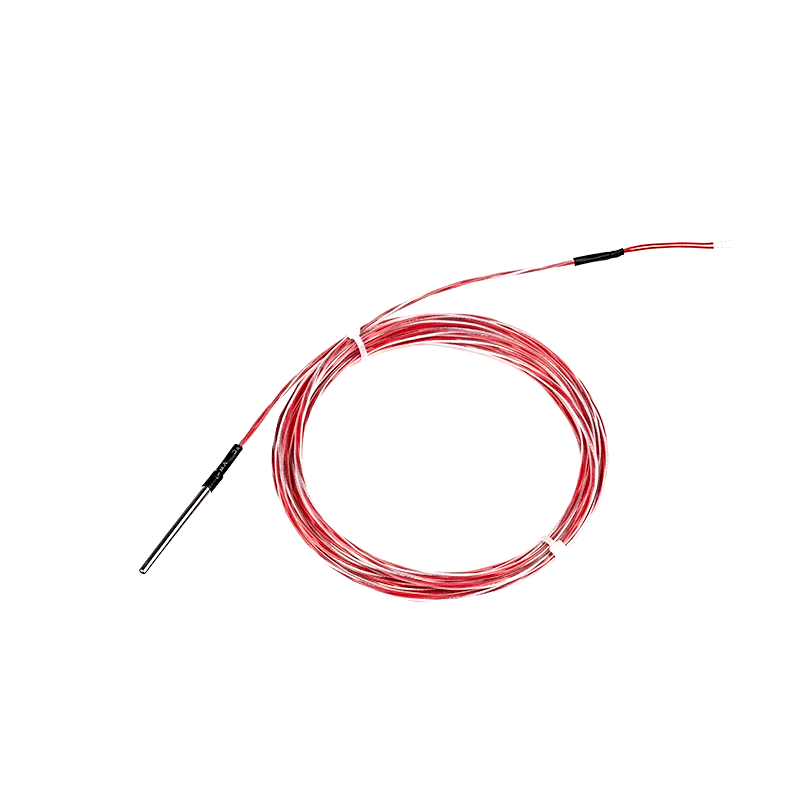
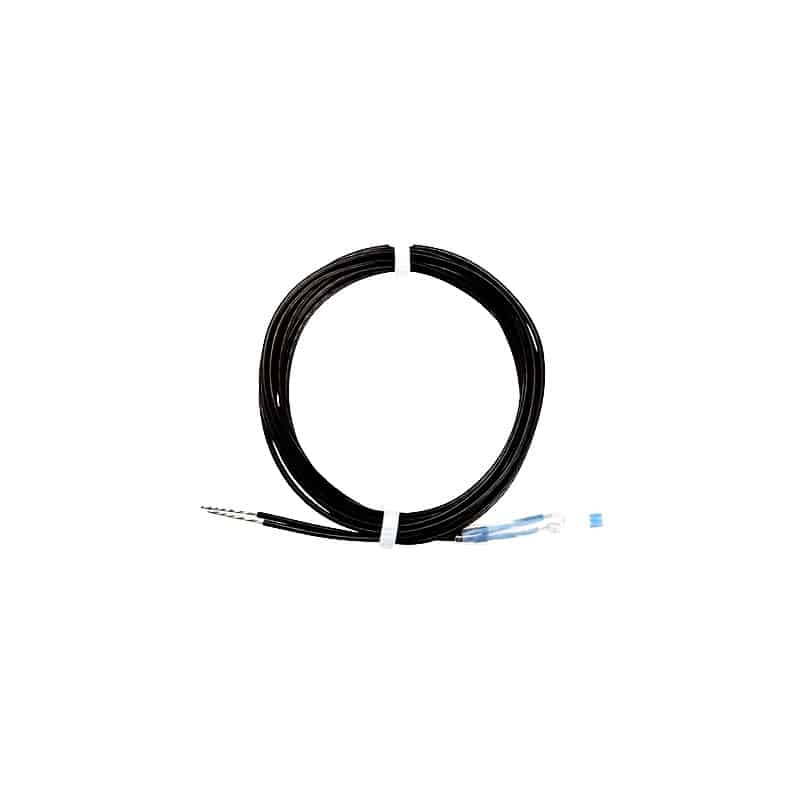
The first step in building a temperature monitoring and control system with Arduino is to understand temperature sensors. There are several types of temperature sensors available, such as thermocouples, resistance temperature detectors (RTDs), and thermistors. Each type has its own advantages and disadvantages, but for this article, we will focus on the most common type, which is the thermistor.
2. Connecting Thermistors to Arduino:
Once you have selected your temperature sensor, the next step is to connect it to your Arduino board. The easiest way to do this is to use a simple voltage divider circuit. This circuit uses two resistors to convert the resistance of the thermistor into a voltage that can be read by Arduino’s analog input pins.
3. Reading and Displaying Temperature Data:
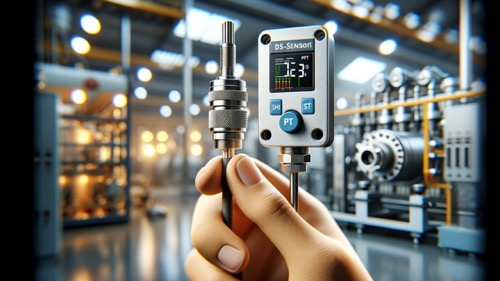
After connecting the sensor to your Arduino, you need to program it to read and display temperature data. Fortunately, there are many libraries available that make this task very easy. One of the most popular libraries is the DallasTemperature library, which supports many types of temperature sensors.
4. Controlling Temperature with Arduino:
Once you have successfully read and displayed temperature data, the next step is to use that data to control a connected device. For example, if the temperature is too high, you can turn on a fan to cool it down, or if the temperature is too low, you can turn on a heater to warm it up. This can be achieved using simple if-else statements in your Arduino code.
5. Conclusion:
Arduino is an excellent platform for temperature monitoring and control. With the knowledge and tools provided in this article, you can easily build your own temperature control system using Arduino. Remember to choose the right temperature sensor, connect it to your Arduino board, program it to read and display temperature data, and use that data to control a connected device. With some creativity and experimentation, the possibilities are endless.
Overall, Arduino temperature monitoring and control is a great project for beginners to learn about electronics and programming. By following the steps outlined in this article, you can begin building your own customized temperature control system today.

The Impact of Temperature Sensors on Modern Energy Solutions
In the rapidly evolving world of energy solutions, temperature sensors play a crucial role in ensuring efficiency and safety. These sophisticated devices are integral to the functionality of various systems,


