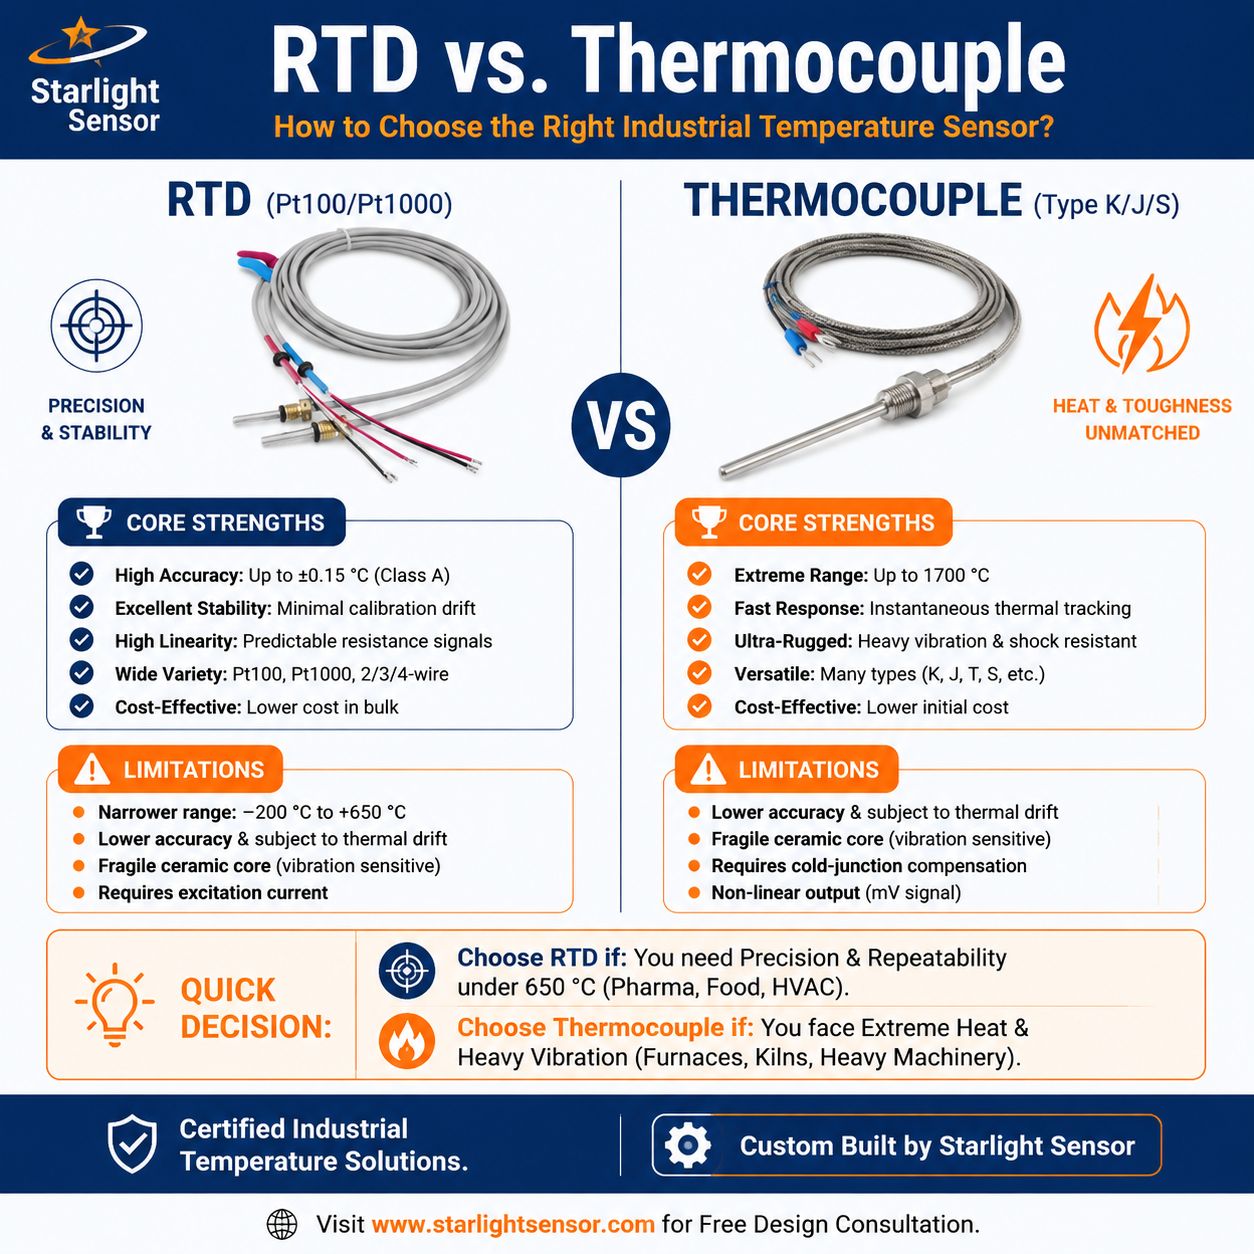
An Arduino project using a Pt100 needs a circuit that measures the RTD resistance and converts it to temperature. The Pt100 probe is a sensing element, not a direct digital output; the design may use an RTD-to-digital converter or a carefully designed analog measurement circuit. Select the probe and interface together, including wiring, reference components, mounting, and the required error budget.
Choose an interface that supports Pt100
Verify that the selected converter is configured for a platinum Pt100, supports the required lead arrangement, and matches the controller’s supply and logic levels. For example, the Analog Devices MAX31865 data sheet describes an RTD-to-digital converter that supports platinum RTDs and an SPI-compatible interface. Other designs may use an analog excitation and reference circuit; check the exact circuit and component documentation.
Plan wiring and the RTD probe
Choose two-, three-, or four-wire sensing based on the readout circuit, lead length, and error budget. For resistance measurement, cable resistance and connection quality can affect the reading. Specify the Pt100 probe’s dimensions, sheath, cable and connector, mounting, and environmental exposure; do not assume an Arduino example defines the correct sensor construction for a real application.
Configure firmware and verify the chain
Use a driver compatible with the converter board, configure the reference components and sensor type, and check for open/short conditions where available. Read the converter only after its measurement cycle completes. Validate the assembled probe against a suitable reference at the project’s required temperatures. Converter resolution, probe tolerance, installation, and calibration each contribute differently to the result.
Pt100 Arduino RFQ and design checklist
- Pt100 curve/tolerance, operating span, and system accuracy target.
- Converter model, reference circuit, lead topology, supply, and logic levels.
- Probe dimensions, sheath, cable, connector, mounting, and environment.
- Firmware/driver, sampling, fault handling, and calibration plan.
- Prototype quantity, drawing revision, validation criteria, and production volume.
Review Pt100 probe options
See Starlight’s motor winding Pt100/Pt1000 RTD sensor and browse the RTD temperature sensor range. Confirm the exact Pt100 configuration and assembly drawing before connecting it to your circuit. For an OEM probe, share the Arduino converter and mechanical requirements for review.