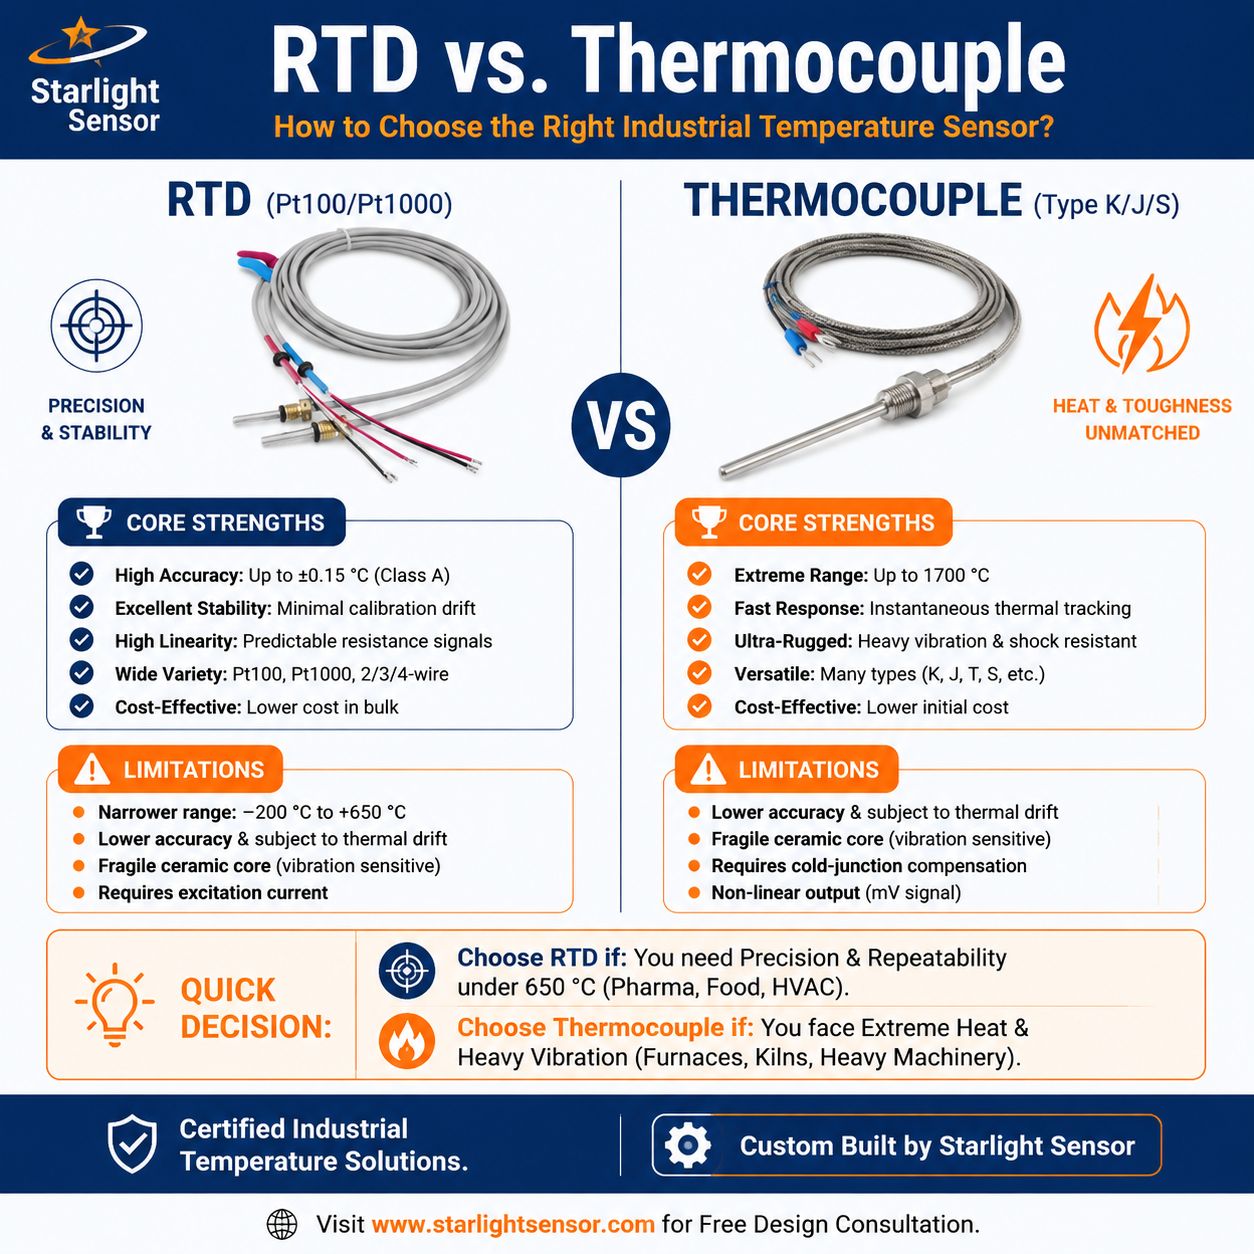
A Pt1000 probe uses a platinum RTD element with a nominal resistance of 1,000 Ω at 0°C. For a reliable installation, match the probe to the controller or RTD converter, wiring, temperature span, mounting, and environmental conditions. The element’s nominal value alone does not define the finished probe’s accuracy or suitability.
Confirm Pt1000 input compatibility
Check that the measurement device is configured for a Pt1000 element and supports the selected resistance-temperature curve and tolerance. Review excitation, reference components, lead arrangement, conversion method, and fault detection in the controller or converter documentation. A Pt100 and Pt1000 have different nominal resistances; do not treat them as interchangeable without explicit input support.
Choose the lead configuration and probe assembly
Specify two-, three-, or four-wire connection based on the instrument, cable distance, and system error budget. Define probe diameter, insertion length, sheath, sensing tip, cable material and length, connector, mounting, and strain relief. Check process media, vibration, moisture, chemicals, and thermal cycling, then verify the assembled probe in the intended installation.
Pt1000 probe RFQ checklist
- Pt1000 curve and tolerance, temperature span, and system error target.
- Controller/converter model, excitation, wiring, and verification method.
- Probe dimensions, sheath, cable, connector, mounting, and environment.
- Response expectations, sample plan, drawing revision, and inspection criteria.
- Production quantity and delivery requirements.
Review a Pt1000 probe assembly
See Starlight’s motor winding PT100/PT1000 RTD sensor as an application example, and browse the RTD sensor range. Confirm whether the chosen model is available in the required Pt1000 configuration and review its current drawing before design-in. For an OEM probe, send your controller and mechanical requirements for review.